Every once in a while, I need to create an image that truly takes a very long time to render in Mitsuba, to the point that I am simply not willing to wait that long. In some cases, this just means that an inefficient algorithm somewhere in the code had better be replaced. But in other cases, the algorithms are all fine, and it’s really the scene’s fault for being excessively complicated. Such circumstances leave me with only two choices: 1. I can adjust my expectations and simplify the scene, or 2. throw a huge amount of processing power behind Mitsuba, and make it go fast. In this blog entry, I will explain how to do the latter with the help of Amazon’s Elastic Compute Cloud (EC2).
Amazon Elastic Compute Cloud
The business model of EC2 is to rent on-demand processing power to individuals and companies. If you have a job that requires several Linux machines for a few hours, you’re in business. Probably the most common use of EC2 is to host web applications that scale dynamically. In that scenario, the web server is able to respond to heavy load situations by automatically buying additional EC2 nodes until the load reverts back to normal conditions.
EC2 can also be used to render images, and Amazon offers a particular kind of machine (in EC2 lingo: instance type) that is well-suited for this purpose. In particular, their c1.xlarge, or High-CPU Extra Large instances each have 8 cores and 7GB of RAM and currently cost about $0.68 per hour on the East coast. This price compares favorably to maintaining a compute cluster around the year, which only sees 100% use during a small portion of that time.
Going cheap
Although the normal EC2 prices are reasonable, it would be nice if there was a way to spend even less. One such approach involves buying idle capacity from Amazon based on a current “stock price” (EC2 lingo: spot price), which they assign to each kind of machine. The idea is as follows: one makes a bid for a certain amount of capacity, e.g. “I’m willing to run this job, if I can do it for less than $0.30 per hour and machine”. As soon as the spot price drops below the bid amount, the requested machines are booted up automatically. As long as they run, only the spot price is incurred (as opposed to the higher bid amount).
This spot price usually lies noticeably below the regular EC2 prices — for instance, as of this moment, a c1.xlarge machine on the East coast only costs ~$0.23 per hour. But here is the caveat: if at any time, the spot price exceeds the bid amount, your machines are turned off without so much as a warning (which obviously doesn’t work well for many kinds of workloads). It is worth noting that one only has to pay for every fully completed node hour in this case.
Since no irreparable damage occurs when a node disappears (other than having to redo the last still or animation frame), I usually prefer the cheaper spot price approach to having guaranteed availability.
Running Mitsuba instances on EC2
Assuming that you’re signed up with EC2, you should be able to step through the following description to get Mitsuba up and running on a few machines and run a parallel render job. It is Linux/OSX-centric, hence the actual commands may differ a bit when doing this on Windows.
Legal disclaimer: Some of the following will cost actual money — while I have done thorough tests, I can make no guarantees on the correctness of the launcher script and the information provided here.
Before starting, make sure that you have a recent version of boto installed on your machine. (This is a Python Library for scripting EC2 services.) On Ubuntu, this can be done by entering
$ sudo apt-get install python-boto
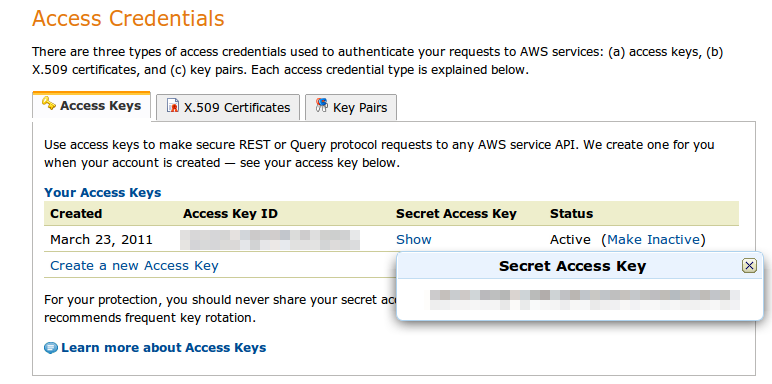
1. After logging into the AWS Management Console, click on “Your Account” and “Security credentials”. Towards the bottom of this page, you should be able to see your Access Key ID, as well as the Secret Access Key. Make note of these two values.
-
- Public & Secret Access Key
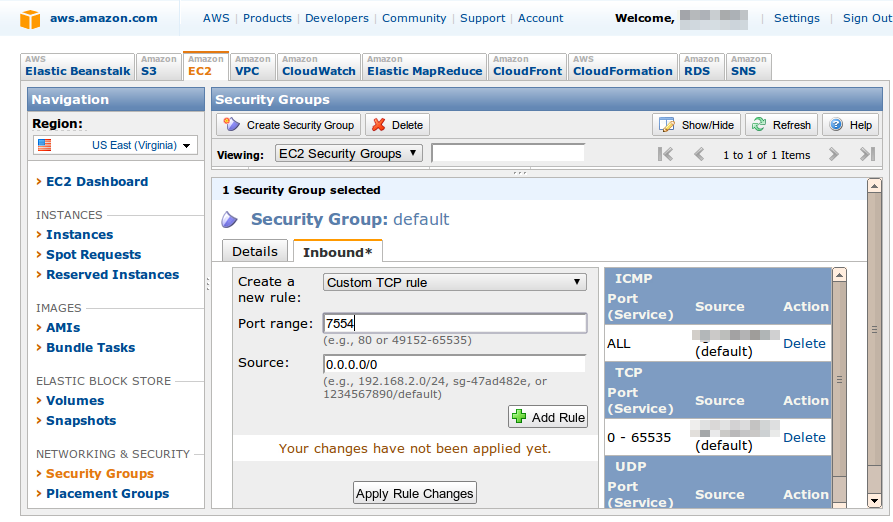
Now, click on the EC2 tab in the AWS Management Console and add an inbound TCP rule to the default security group. The rule should open port 7554 without source restrictions (i.e. 0.0.0.0/0). Add another such rule for port 22 (for secure shell access).
-
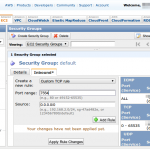
- Security groups
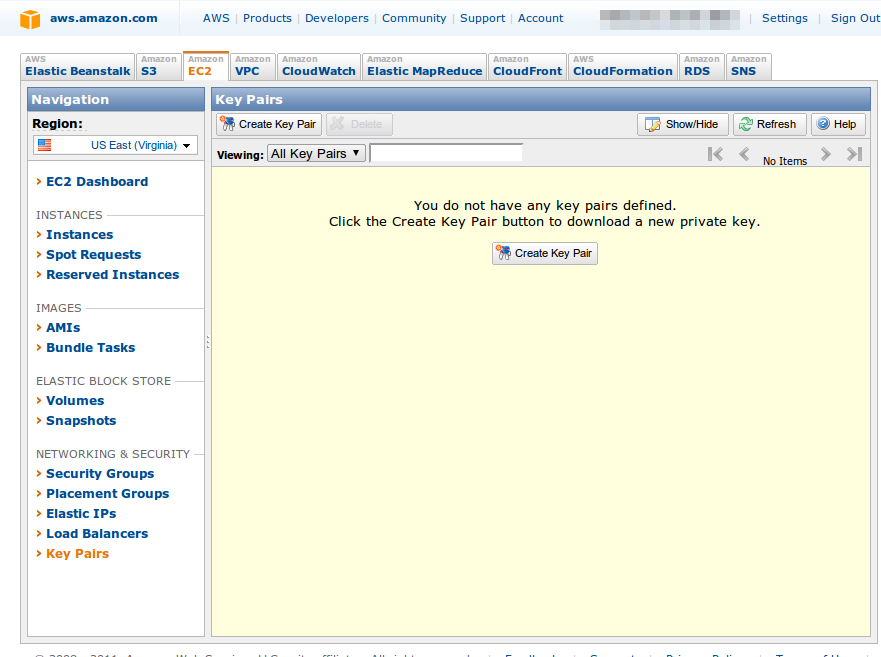
Next, create a new key in the control panel labeled “Key Pairs”. The browser will prompt to save a .pem file, which you can save into a new directory (e.g. mitsuba-ec2) with a filename matching the key pair name (for instance: mitsuba.pem when the key pair was named mitsuba).
-
- Keypair setup
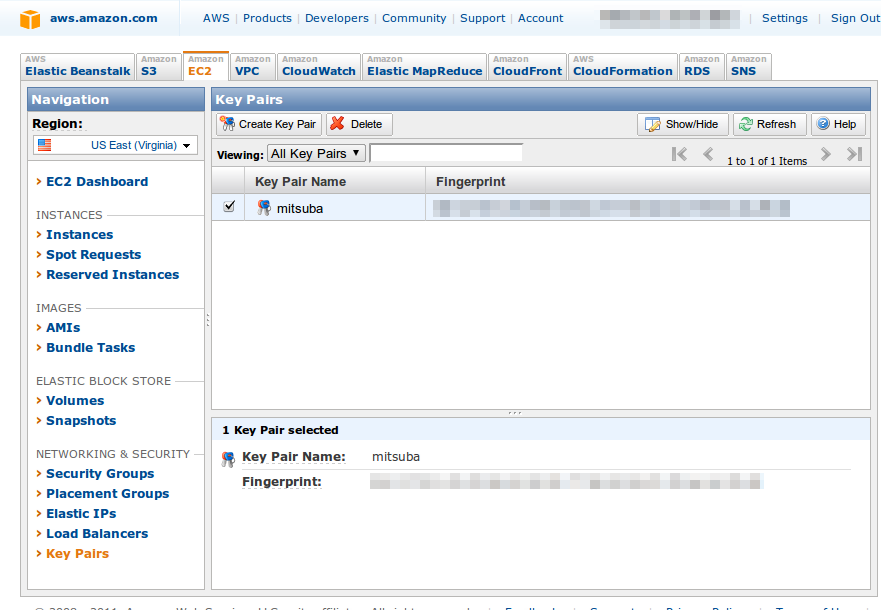
-
- Newly created key
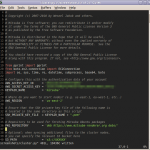
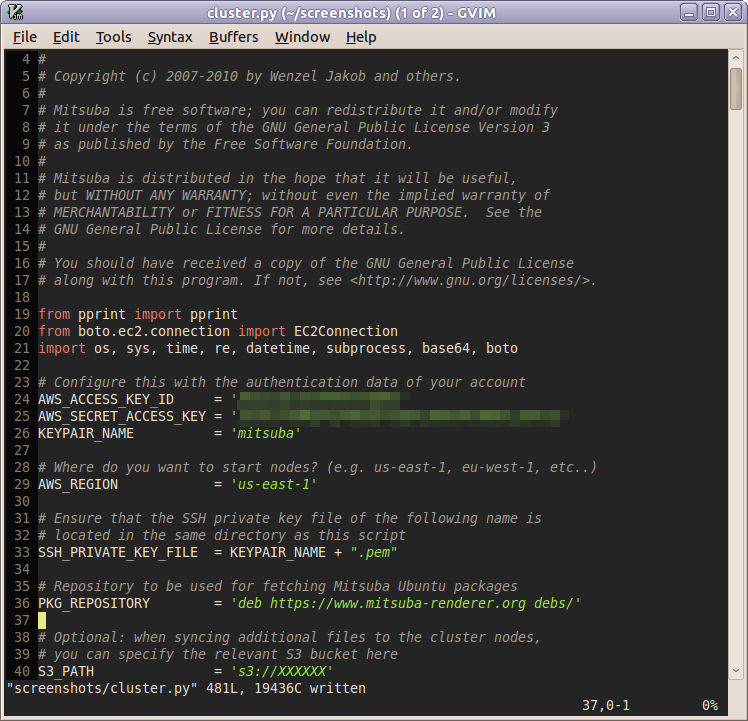
Now, create a clean copy of data/ec2/cluster.py from the Mitsuba distribution and place it into the same directory.
You will need to modify a few values at the top. In particular, the access key, key pair, and region fields all need to be filled out. When building a custom version of Mitsuba, you will also need to modify the PKG_REPOSITORY attribute to point to your own repository.
-
- cluster.py script
Now, we are almost ready to go. Open a terminal and navigate to the directory containing the modified EC2 launcher script. To set the correct permissions for the private key, execute the following command (replace mitsuba by the name the key pair crated earlier)
$ chmod og-rwx mitsuba.pem
For an overview of all supported commands, type
$ ./cluster.py
The following command allocates a specified number of spot nodes from EC2 and boots them with a stateless version of Ubuntu Maverick (64 bit).
$ ./cluster.py addSpotNodes [instance-type] [count] [bid] <group>
To get an idea of what to specify as a bid, it may be useful to look at the list of previous and current spot prices on the Cloud Exchange. To get (more expensive) regular machines with guaranteed availability, use the following command instead:
$ ./cluster.py addNodes [instance-type] [count] <group>
For instance, to purchase 16 c1.xlarge spot nodes (that’s 128 cores) with a max. bid of $0.30/hr each, enter
$ ./cluster.py addSpotNodes c1.xlarge 16 0.30 myGroup
Requesting 16 spot nodes of type c1.xlarge (group name = "myGroup",
  max. price=0.300)..
Done.
The last parameter designates the name “myGroup” to these 16 machines. To see whether your nodes have started successfully, enter
$ ./cluster.py status
Querying spot instance requests...
  sir-724e8411: status=open, price must be <= 0.300$
  .... (15 more)
When the bid is above the spot price and the requests have been fulfilled (this usually happens within a minute), this status will change to
$ ./cluster.py status
Querying spot instance requests...
  sir-724e8411: status=active, price must be <= 0.300$
  .... (15 more)

Querying instances ...
Nodes in group "myGroup"
===================
  ec2-50-17-103-151.compute-1.amazonaws.com is running (type:
    c1.xlarge, running for: 0d 0h 1m, internal IP: 10.86.31.233,
    spot request: sir-724e8411)
    .... (15 more)
These are perfectly standard Ubuntu machines — to obtain shell access to any one of them, pass the host name seen seen in the previous command to the login command, e.g.
$ ./cluster.py login ec2-50-17-103-151.compute-1.amazonaws.com
To quickly install Mitsuba on all nodes in parallel (time is money at this point!), run
$. /cluster.py install myGroup
Sending command to node ec2-50-17-103-151.compute-1.amazonaws.com
...
0/16 nodes are ready.
...
16/16 nodes are ready.
This process usually takes about 30-60 seconds; a few harmless warnings may appear, which can be ignored. With Mitsuba installed on all machines, the last step is to create a rendering cluster. For this, execute
$. /cluster.py start myGroup
Creating a Mitsuba cluster using the nodes of group "myGroup"
Sending command to node ec2-50-17-102-163.compute-1.amazonaws.com
....
15/15 nodes are ready.
All nodes are ready.
Creating head node ..
Done -- you can specify the head node
   "ec2-184-73-78-201.compute-1.amazonaws.com" in the Mitsuba
   network rendering dialog
The host name in this last command is the head node of the cluster. To save network bandwidth, the head node transparently provides access to all cores in the cluster without you having to create internet connections to 16 separate machines.

Default network topology
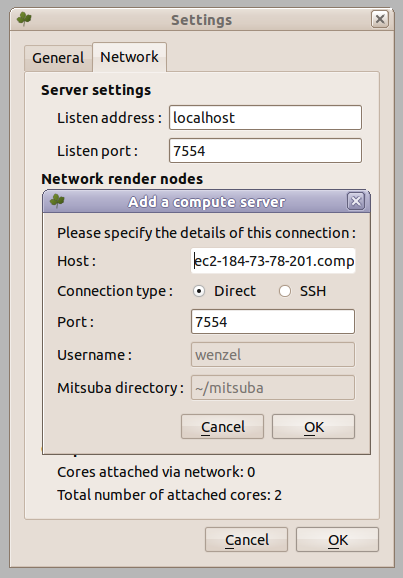
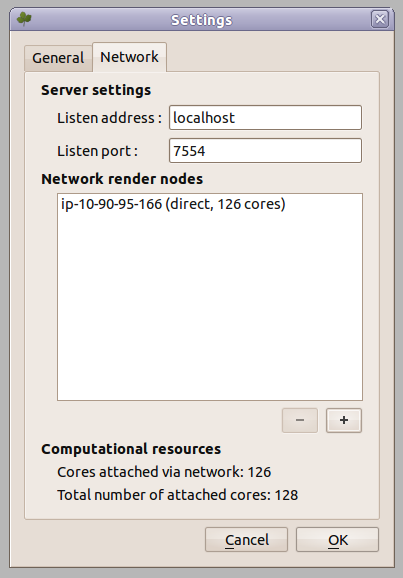
To use the cluster, simply add this machine in the rendering preferences of the Mitsuba GUI or provide it using the -c parameter when rendering from the command line interface.
-
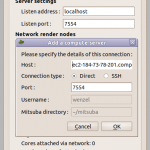
- Connecting to the cluster
-
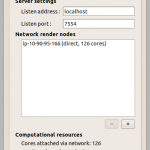
- Connection established!
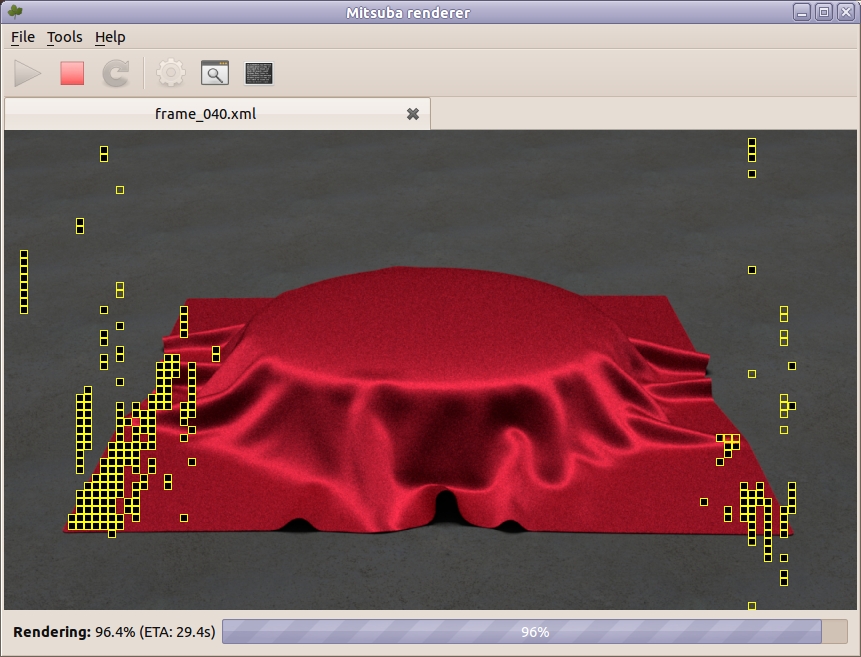
-
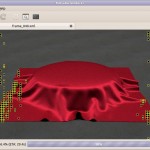
- EC2 rendering in progress
(In case you are wondering why 2 cores appear to be missing in the above images — the launcher script leaves them idle on the head node to ensure that it has enough CPU and network I/O capacity to coordinate the rendering)
Once you are done, don’t forget to run
$ ./cluster.py terminateAll myGroup
to shut down the machines and stop any charges to your account (note: Amazon will bill you for any partially used hours).
This guide only covered the most basic use case; more advanced features also supported. For instance, to do some serious rendering with volumetric datasets, I usually upload the (multi-gigabyte) volume data files to Amazon S3 ahead of time. After booting up a cluster, I use the syncData command to have all cluster nodes simultaneously download those files over the EC2-internal network (this does not incur any network charges). Another useful feature is that multiple users can simultaneously create Mitsuba clusters on a single account without interfering, as machines are always referred to using group names.
http://www.greenbutton.net/pages/about
This venture is using Lord of the Rings movie cluster for same cloud computing access …
I’m curious as to weather you (the developers) ever plan on implementing dispersion for materials such as diamonds, or dispersive glass. I think that with Mitsuba’s rendering techniques it would put Mitsuba far ahead of other renderers if you added dispersion to the mix. I feel that Mitsuba is a little behind in that aspect. Of course the rendering algorithms (in my opinion) are far more advanced that other renderers.
Hi,
I do plan to add dispersion at some point, though it’s not very high on the list. Unless rendering crystals or things with really high Abbe number, it tends to be a rather subtle effect. I’m curious: what are you planning to render that you consider it so important?
Wenzel
Nothing really. I just like playing around with 3D rendering software. Right now I’m trying to render a realistic wineglass with a small light source. I’ve been using LuxRender and I’ve also have dabbled around in Mitsuba too. I’m using the exact IOR and abbe value as Lead Crystal Glass. Though the effects are subtle, they are still noticeable with the naked eye.
My goal is to become successful in digital art, however I have also been successful in influencing developers too. Mostly it was just to fix software bugs. I did however influence the developers over at LuxRender to add the Abbe Fresnel Texture which is easer the trying to figure out Cauchy values.
I can’t say that I like either software better than the other because they both have there strong and week points. I like Mitsuba renderer simply because of all the different rendering techniques that it has to offer. Thank you.
I have to agree, dispersion is a feature i would like to *see* as well.